
How to Create The Best Quality IPhone Videos
This practical how-to article has been kindly provided by Nathan Thomas Videography. This article has some excellent tips if you’re looking to create your own video content, for social media or more generally. The article first appeared on Nathan’s website. We liked it so much we wanted to share it directly!
Nathan Thomas works locally, in Tāmaki Makaurau, as a freelance videographer.
To learn more about Nathan’s work or to book him for a shoot, head over to his website (click here).
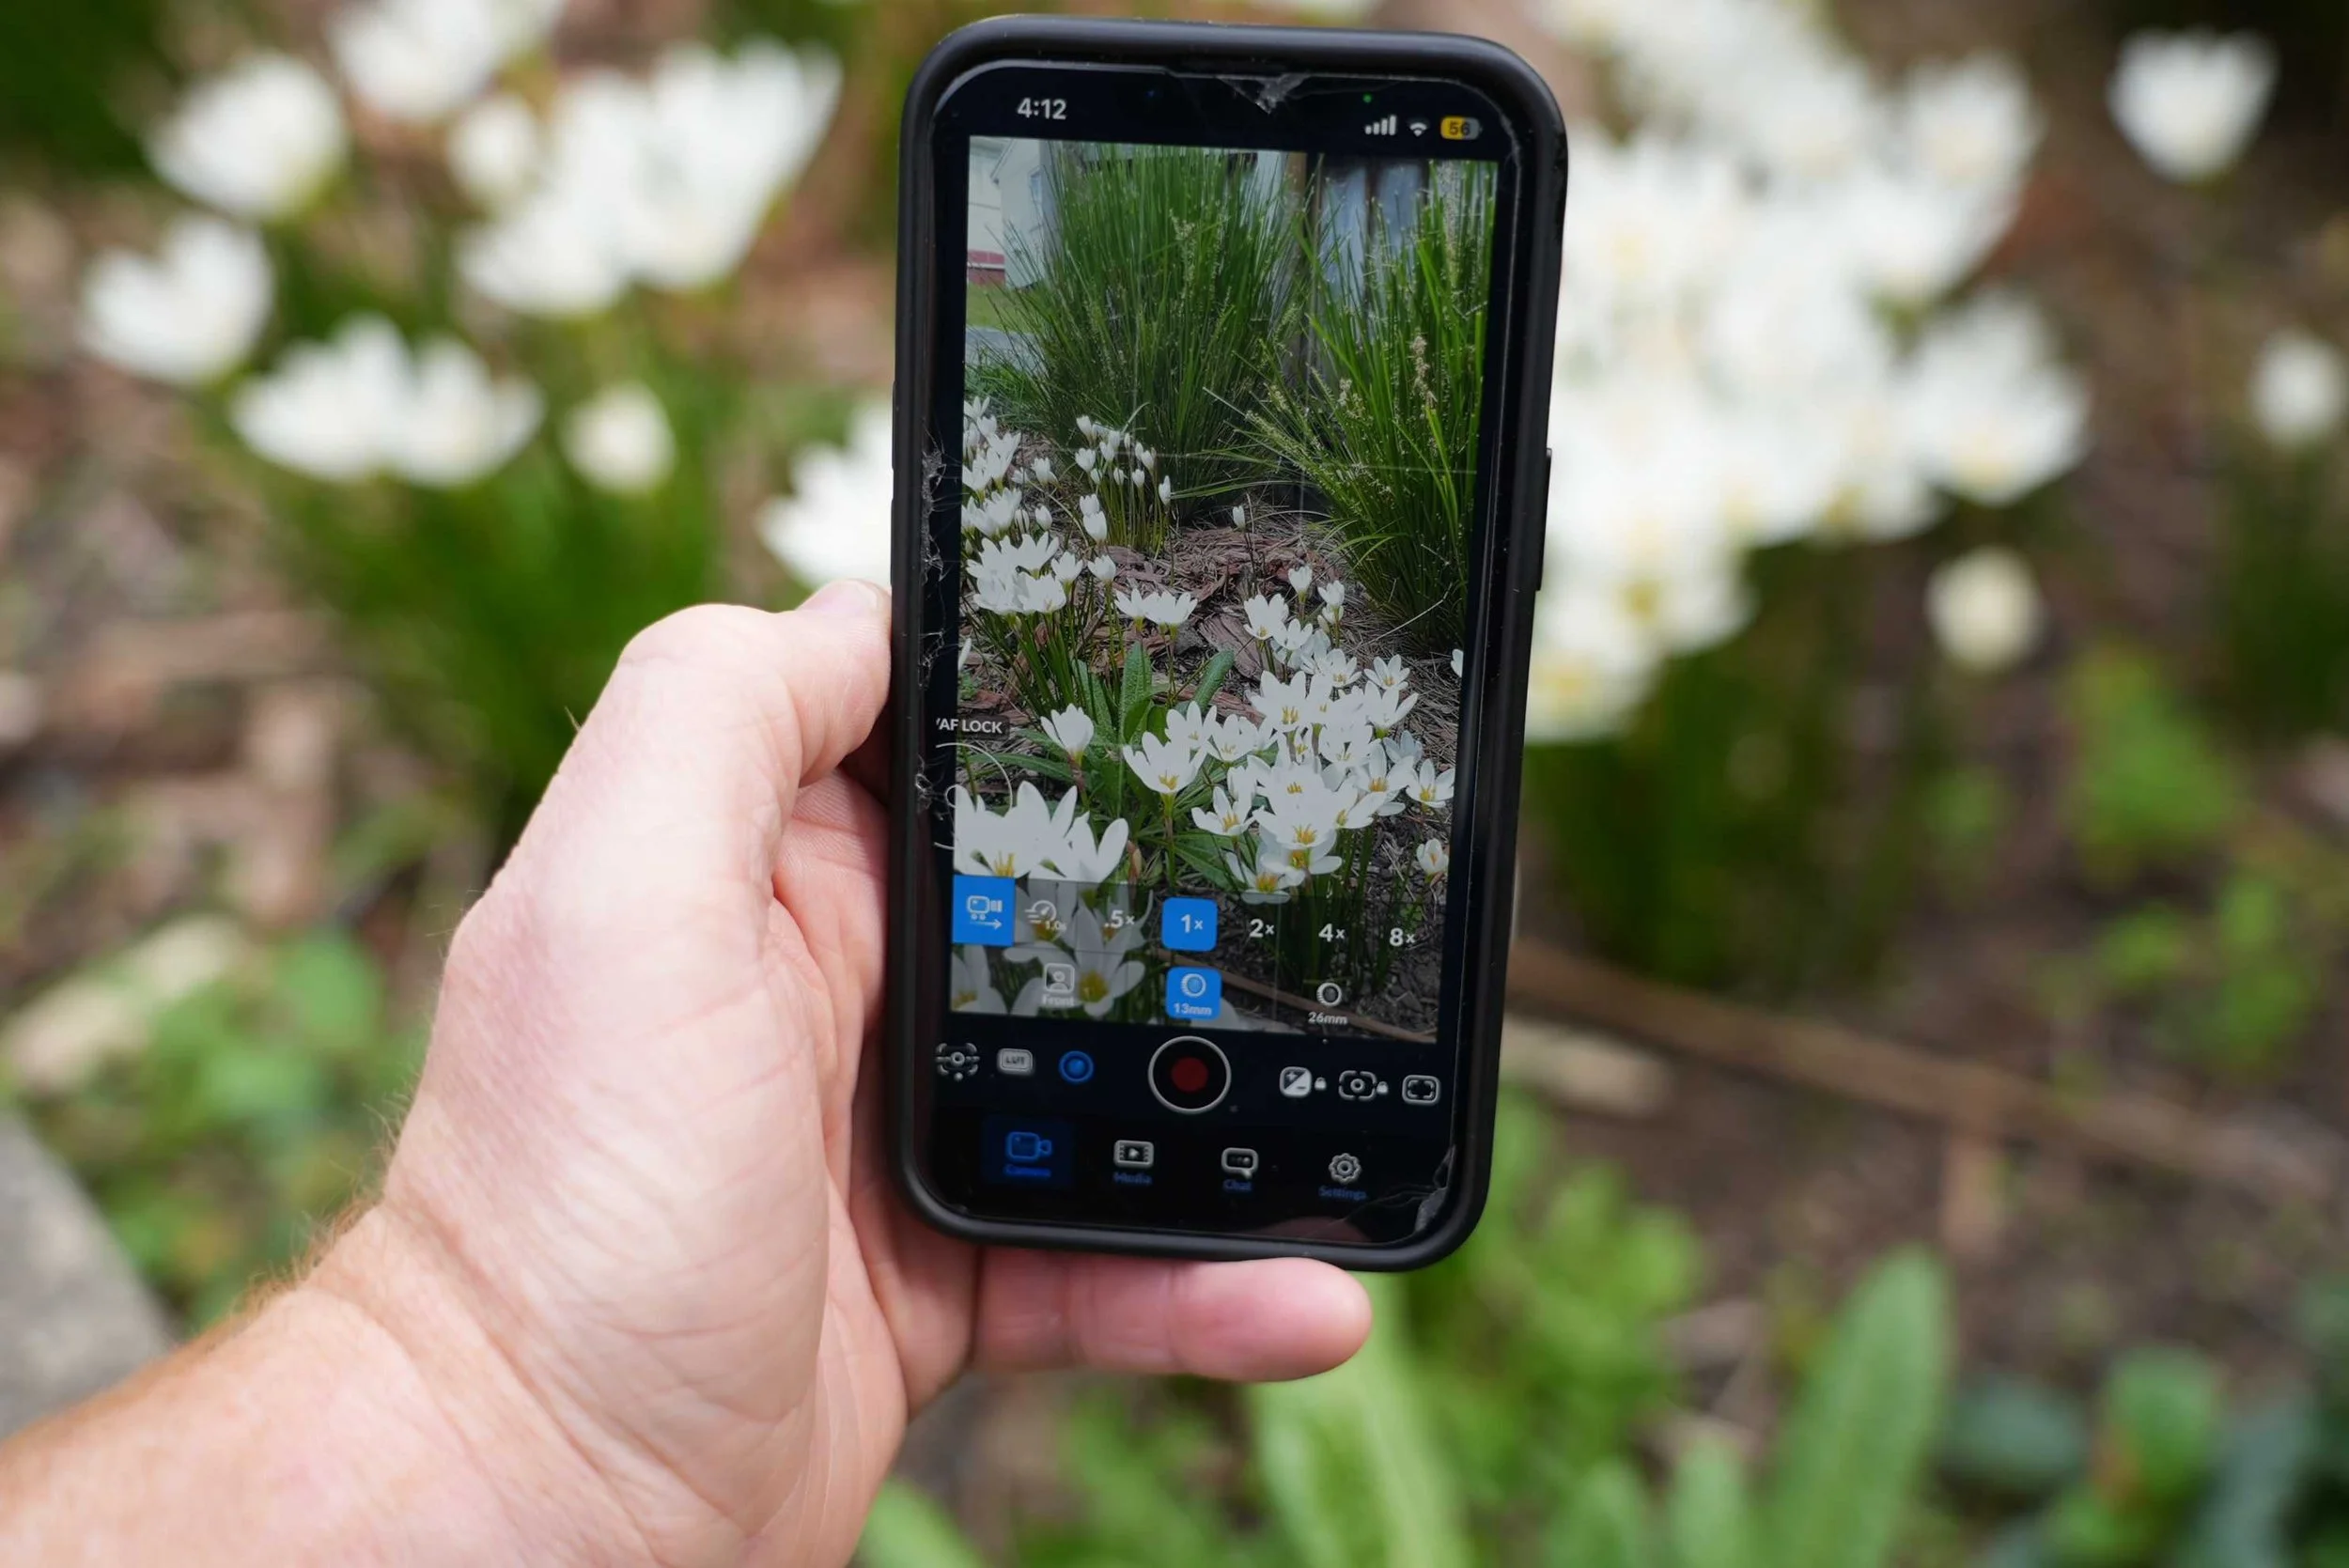
Filming on an iPhone 13. I’m using the free Blackmagic Camera App
1. Audio is king
People will put up with a slightly out-of-focus video. But bad audio doesn’t really cut it. If you are difficult to hear or there are wind noises, people will scroll on by.
If you’re going to be filming yourself regularly, I recommend investing in a wireless Bluetooth microphone. DJI make fantastic and affordable Bluetooth mic sets like the DJI Mic Mini.
2. Bad lighting can ruin a good shot
One of the biggest mistakes when people are filming themselves is standing directly under harsh office downlights.
It can give you ‘panda eyes’ which are deep, dark shadows in your eyes.
The fix: Find a window. Position yourself so you’re facing the window. Let that natural light do the work. If the window is behind you, you’ll be a silhouette. Using window light is also much better for colour rendition. Using daylight instead of artificial light means the camera is able to capture pleasing skin tones and more accurate colours.
3. Frame it right
Before you hit record, think about where the final video will be going. Vertical or Horizontal?
Going on TikTok, Reels, or Shorts? Keep it Vertical.
Putting it on YouTube or your website? Horizontal is the way to go.
4. All about the angles
Camera height has a real psychological impact on how you're perceived. A high angle makes a subject look less powerful. A low angle can make you appear domineering.
Keep your phone camera at eye level or tilted slightly down. It keeps you looking professional and relatable.
Plus, it's a great trick for a flattering angle. No one wants a camera looking up their nose or accentuating a double chin!
5. Keep it steady
iPhones have great built in stabilisation, but a tripod is better for long talking head video.
Grab a basic tripod and a phone adapter. It’s an investment that really increases the professionalism of your videos.
6. Use Blackmagic
The standard iPhone camera app is smart and will compute your settings automatically. But this means the brightness and focus can jump around a bit with changing light. Or, you may want the scene to appear darker or brighter than the standard app chooses.
Try the Blackmagic Camera App. It’s free. I highly recommend it. It lets you lock your exposure and see your audio levels, so you can double check that you're being recorded.
6. The "NZ Standard" Settings
In New Zealand, we use PAL, which records in 25 or 50 frames per second (fps). In NTSC regions they use 24 or 60fps.
I usually recommend filming in 4K at 25fps. 25fps is the standard for natural looking motion.
Note that 4K files are big and fill up your phone fast. If you're running out of space, switching to 1080p is perfectly fine for social media and much easier to send online.
7. Why the iPhone?
iPhones truly are superior when it comes to shooting video on a phone. The stabilisation is one of the biggest difference between other phone cameras. Resolution is less of an important feature when it comes to recording video.
The colour science is also great, and when you pair it with the right apps and a bit of lighting, the results can be impressive.
To learn more about Nathan’s work remember to check out his website. Nathan can help with a variety of video projects, including events, corporate video, social content, and testimonial and educational videos.